Why you should do it?
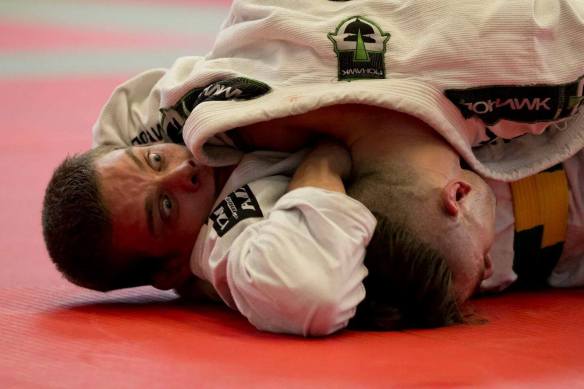
The more mobile a jiu jitsu athlete is, the more options there are available to them. There are no techniques that they cannot physically do and they can direct their development in the sport in whatever direction they wish.
Those of us with joints that do not work as nice, we may find ourselves restricted, mostly to that brutal half guard lifestyle with all gi burns and face smooshing that it often entails.

We will begin this series by focusing on the hips. You may not be consciously aware of it but the active range of motion at your joints will already be influencing how you train. If you find out you have wonderful hip external rotation on your right, well that is where you will be guiding your omoplatas. If you are a hip internal rotation ninja your knee cut passes will probably be quite scary.
I have never been great mobility wise. A severe lack of external rotation at my left hip in particular has always bothered me even when I was not consciously aware of it. Id rarely throw up a triangle or omoplata to that side and it felt as though I had a hole in my guard as I was unable to high leg effectively.
After attending a number of Functional Range Conditioning (FRC) Courses I felt that I could finally do something about it. FRC is a systematic approach to mobility development and joint integrity which is backed up by a scientific rationale that keeps the nerd in me happy. It’s where I have robbed all the stuff below.
How to do it?
Irradiation
During the exercise descriptions below you will often be asked to irradiate. This is probably the single most important concept in the FRC stretching protocol and one that I did not fully grasp until around 6 months of regular practice.
The concept goes like this. If you can generate a shit tonne of muscular tension around the joint you are trying to stretch the more pronounced the improvements in usable range of motion will be.
So whenever you are asked to irradiate:
1. Take a big breath and trap as much air as you can in your lower abdominal region.
2. Brace your stomach like you are expecting a body shot.
3. Allow the contraction to spread out from your stomach to incorporate the rest of your body as you gradually build up the intensity of the contraction.
4. Breath shallowly while maintaining the contraction and try not to poo.
External rotation
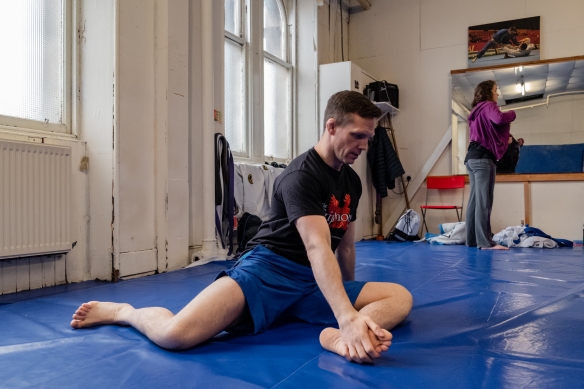
The protocol for the stretchy bits or Progressive and Regressive Isometric Loading (PAILS and RAILS) works like this: Start in the 90/90 position pictured below, lean forward to achieve the initial stretch on the outside of your hip.

a. 60 sec of passive stretch focusing on deep breathing and relaxing into the position.
b. 30 sec PAILS contraction, irradiate and begin pushing your lead leg foot and knee into the floor. Imagine having scales under the foot and knee and you are trying to make these scales read as heavy as possible. Gradually build up to 80% of your maximal tension.
c. 15 sec RAILS contraction, while maintaining your irradiation attempt to increase the stretch depth/intensity by trying to make the imaginary scales as light as possible as your chest comes forward.
d. 15 sec passive stretch
e. Repeat steps a-d for 2 more sets.
Now we have expanded the joint range a bit we can start looking at gaining some more control with holds and lift off’s.
Side lying hip external rotation lift off’s
Assume the starting position and irradiate. Raise your foot by externally rotating the hip while keeping the trail leg knee in contact with the floor
Supine hip external rotation lift offs
Assume the starting position and irradiate. Lift the foot away from the knee focusing on driving external rotation through the hip
Internal rotation
Internal rotation Pails/Rails
The protocol is the same as before
a. 60 sec of passive stretch
b. 30 sec PAILS contraction irradiate and try to lift knee while pressing ankle into the floor
c. 15 sec RAILS contraction attempt to lift foot from floor while bringing upper body closer to the trail leg
d. 15 sec passive stretch
e. Repeat steps a-d for 2 more sets.
Internal rotation lift offs
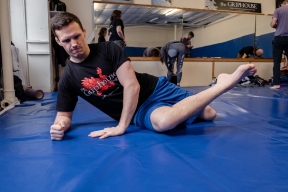
Assume the starting position, irradiate and lift the foot from the floor. If foot doesn’t move, lean forward until you can. You want to find the range where you can just about lift the foot from the floor.
Putting it all together
Your hips will probably feel weird and tired after all that. Lets now put our new found hip external and internal rotation gains to good use in the form of some more complex movements.
Standing Hip Controlled Articular Rotations (CARS)
4 reps both ways
Squat hold
Sit at the bottom of a squat for 1-2 minutes then rep out 10 low squats
Programming
I see the biggest improvements when I am doing this regularly, therefore for this experiment I would recommend we all try to do this 5-7days a week. Sometimes if my hips feel goofy I will reduce the intensity of the PAILS and RAILS but the other movements can be done everyday at a high intensity.
I also like to do hip rotation movements and CARS any time I have a spare second. We will expand more on why this is a good idea in subsequent blogs, but for now give this a shot for a couple of weeks and let me know how you get on. If you have questions or want me to go through any of the movements catch me at The Griphouse.
Program Overview
- Hip External rotation Pails and Rails
- Side lying hip external rotation lift offs
- Prone hip external rotation lift offs
- Hip internal rotation Pails and Rails
- Hip internal rotation lift offs from 90/90
- Hip Controlled Articular Rotations
- Squat hold and reps


